In this tutorial, I'll be
guiding you on how to run a Java file through Window's command-line interface.
Window's
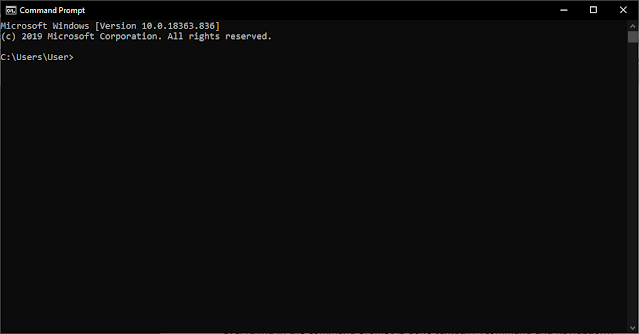
Command Line Interface (cmd)
Window's cmd or command
prompt is the command-line interpreter for the Window's operating system. It's
is used to execute commands, and most of them are used to automate tasks with
the help of scripts. Window's user would generally interact with their
computer's operating system (OS) through the graphical user interface (GUI).
But the command prompt let Window's user interact with the operating system
directly. Rather than clicking a button and navigating visually, everything in
the command prompt is done textually (command and navigation).
When I say executing
commands and interacting with the OS directly, this means that we can run our
Java application directly through Windows's command prompt. For the command
prompt to be able to compile and interpret a Java program, we need first to
provide the command prompt with the location of the compiler and interpreter alongside with the filename of the Java program. But, this means that we'll need to copy the absolute path (C:\java-folder\bin) every time we want to run a Java program. This
would be time-consuming as we'll always need to copy the absolute path of the
compiler and interpreter to compile and execute a Java program.
To solve this issue, we
can add the absolute location of the compiler and interpreter to the
environment's PATH. PATH is an environment variable which specifies the
location of executable programs. By doing so allows us to use the compiler and
interpreter without having to use their absolute path. When we specify Java
compiler or interpreter file name, Window will search those names from the
directories stored in the PATH variable. If the name is found, Window will
execute the program while providing the program with the arguments included by
the user during command execution. If Window can't locate the program
name in the directories, the command prompt will display a message stating that
the command is not recognized.
Adding the
absolute path to Window's PATH.
To add Java's absolute path into Window's PATH, you'll first need to navigate to the location where
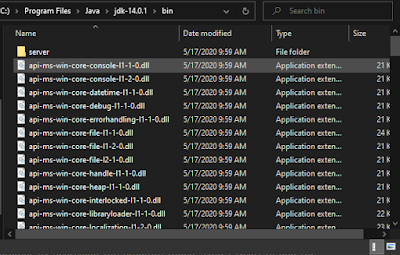
you installed Java and copy its "bin" folder complete path. Both the
compiler and interpreter file are in the bin folder. In my case,
"C:\Program Files\Java\jdk-14.0.1\bin".
Then, if you're using
Window 7, search for your "MyComputer" and if you’re in Window 10
Search for the "This PC" app. When you found the app, right-click it
and click on the "properties" option. After that, a window will popup
and now click on the "advanced system settings".
Another smaller window,
"System properties" will popup and now click on the
"advanced" section. Then, click on the "Environment
Variables". Now, you'll need to go to the "System variables" and
choose the "path" option. Then, click on the "edit" button,
now click on the new button and paste the absolute location for Java's bin
folder.
Compiling and
executing Java source code from CMD
After we added the bin
folder location to the PATH, we now can use the compiler and interpreter
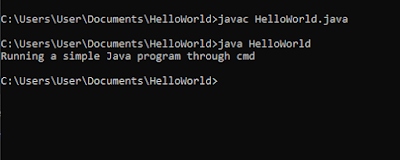
filename to compile and interpret a Java program. To compile a Java source code
into bytecode, from a command prompt navigate to the source code file location.
Then, run the command "javac filename.java" and a bytecode (.class) the file will be created. To run the Java program, use the command "java
filename" without the ".class" file extension, and the program
will start to execute the code that is programmed into it.
That's the end of the
tutorial, hope you now know how to run a Java program from the command prompt.
If you find this tutorial helpful please share it with others that might find
it useful. As always, if you have any questions, suggestions or critics, please
leave a message at the comment section below.


No comments:
Post a Comment